Creating a homeschooling portfolio: tools for documenting work
All learning counts, and you can document that!
Discussion as an assessment tool
A clean and tidy study space = a happy, productive you
You’ve got this! (inspirational flyer)
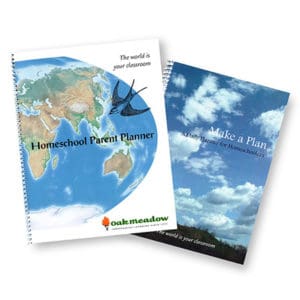
Creating a homeschooling portfolio: tools for documenting work

- Record of student work (quantity and scope): What was covered in a particular time period?
- Documentation of progress (quality): How are the student’s skills developing?
- Evidence of mastery (proof): Which skills and knowledge are consistently demonstrated?
Click here to download Tools for Documenting Work, a guide to help you create an effective homeschooling portfolio.
All learning counts, and you can document that!
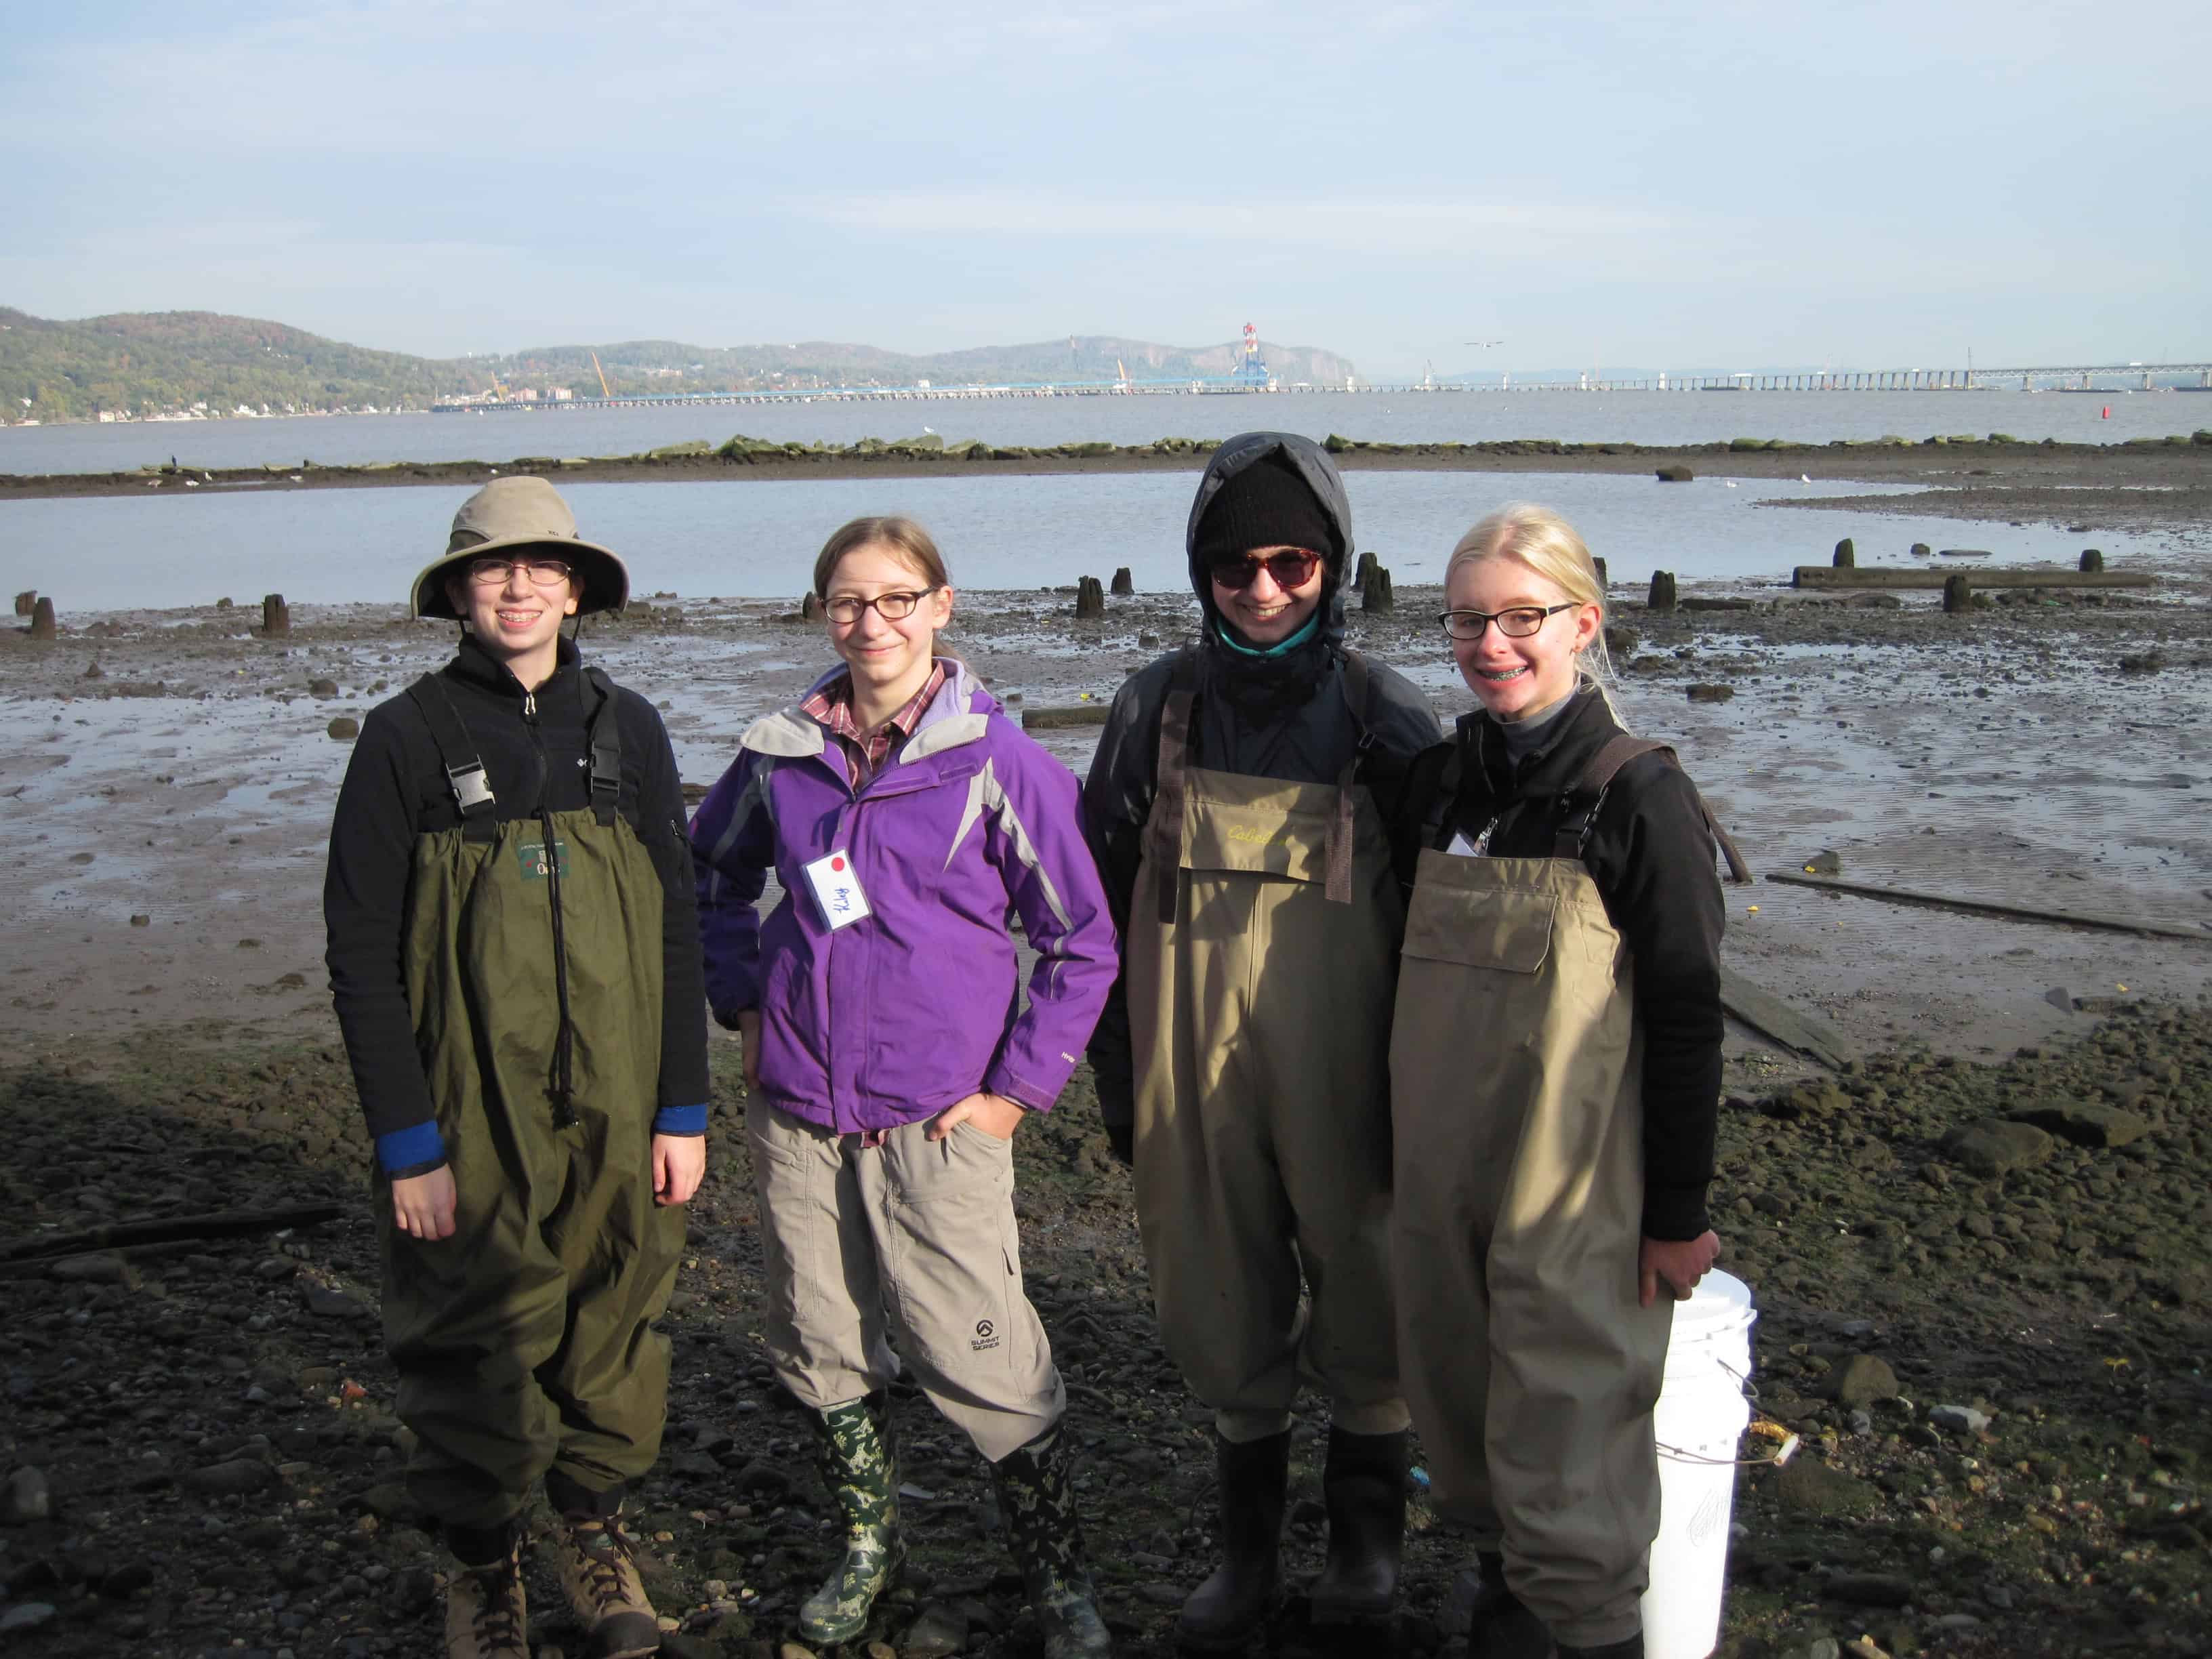
One beauty of homeschooling is the freedom to explore all sorts of learning experiences, and student interests and passions should be documented along with academic achievements in your homeschooling portfolio. Oak Meadow’s accredited distance school awards credit to enrolled students for many types of academic and life experiences. Here are examples to get you thinking as you and your student map out a high school academic plan.
- At Oak Meadow we encourage students to participate in a wide variety of extracurricular activities for credit through our Life Experience Elective Credit program. Read about our LEEC program (under “Signature Programs”) and check out the application form to see how we evaluate a student’s experience.
- Oak Meadow High School Science Teacher Julia West routinely encourages her students to get involved in citizen science activities. For ideas, read her article.
- Oak Meadow has a long referred students to Johns Hopkins University’s Center for Talented Youth online program (CTYOnline). Take a look at the rigorous Advanced Placement, computer science, and technology courses they offer for gifted and talented high school students.
- Many enrolled Oak Meadow students have had fantastic travel experiences and earned Oak Meadow credit through study-away travel programs. One of our favorite partners is Gogi Abroad.
- Dual enrollment is a great way for high school students to try college-level study or to dive into a specialized topic that may not be available through homeschool curriculum providers. We recently discovered Cornell University’s online course, Ornithology: Comprehensive Bird Biology for budding ornithologists. Explore offerings at your local community college or others that offer online courses.

Discussion as an assessment tool
If your student is getting overwhelmed or just fed up with lots of writing assignments, consider choosing occasional assignments for discussion instead of writing. This discussion can be a debate (if there are two sides to it), an oral report, a teach-the-parent tutorial, or just a conversation. It can be recorded (audio or video) and reviewed together, or the parent can write a short summary and evaluation of the project for the student’s portfolio. Using discussion as an assessment tool brings learning achievements to life.
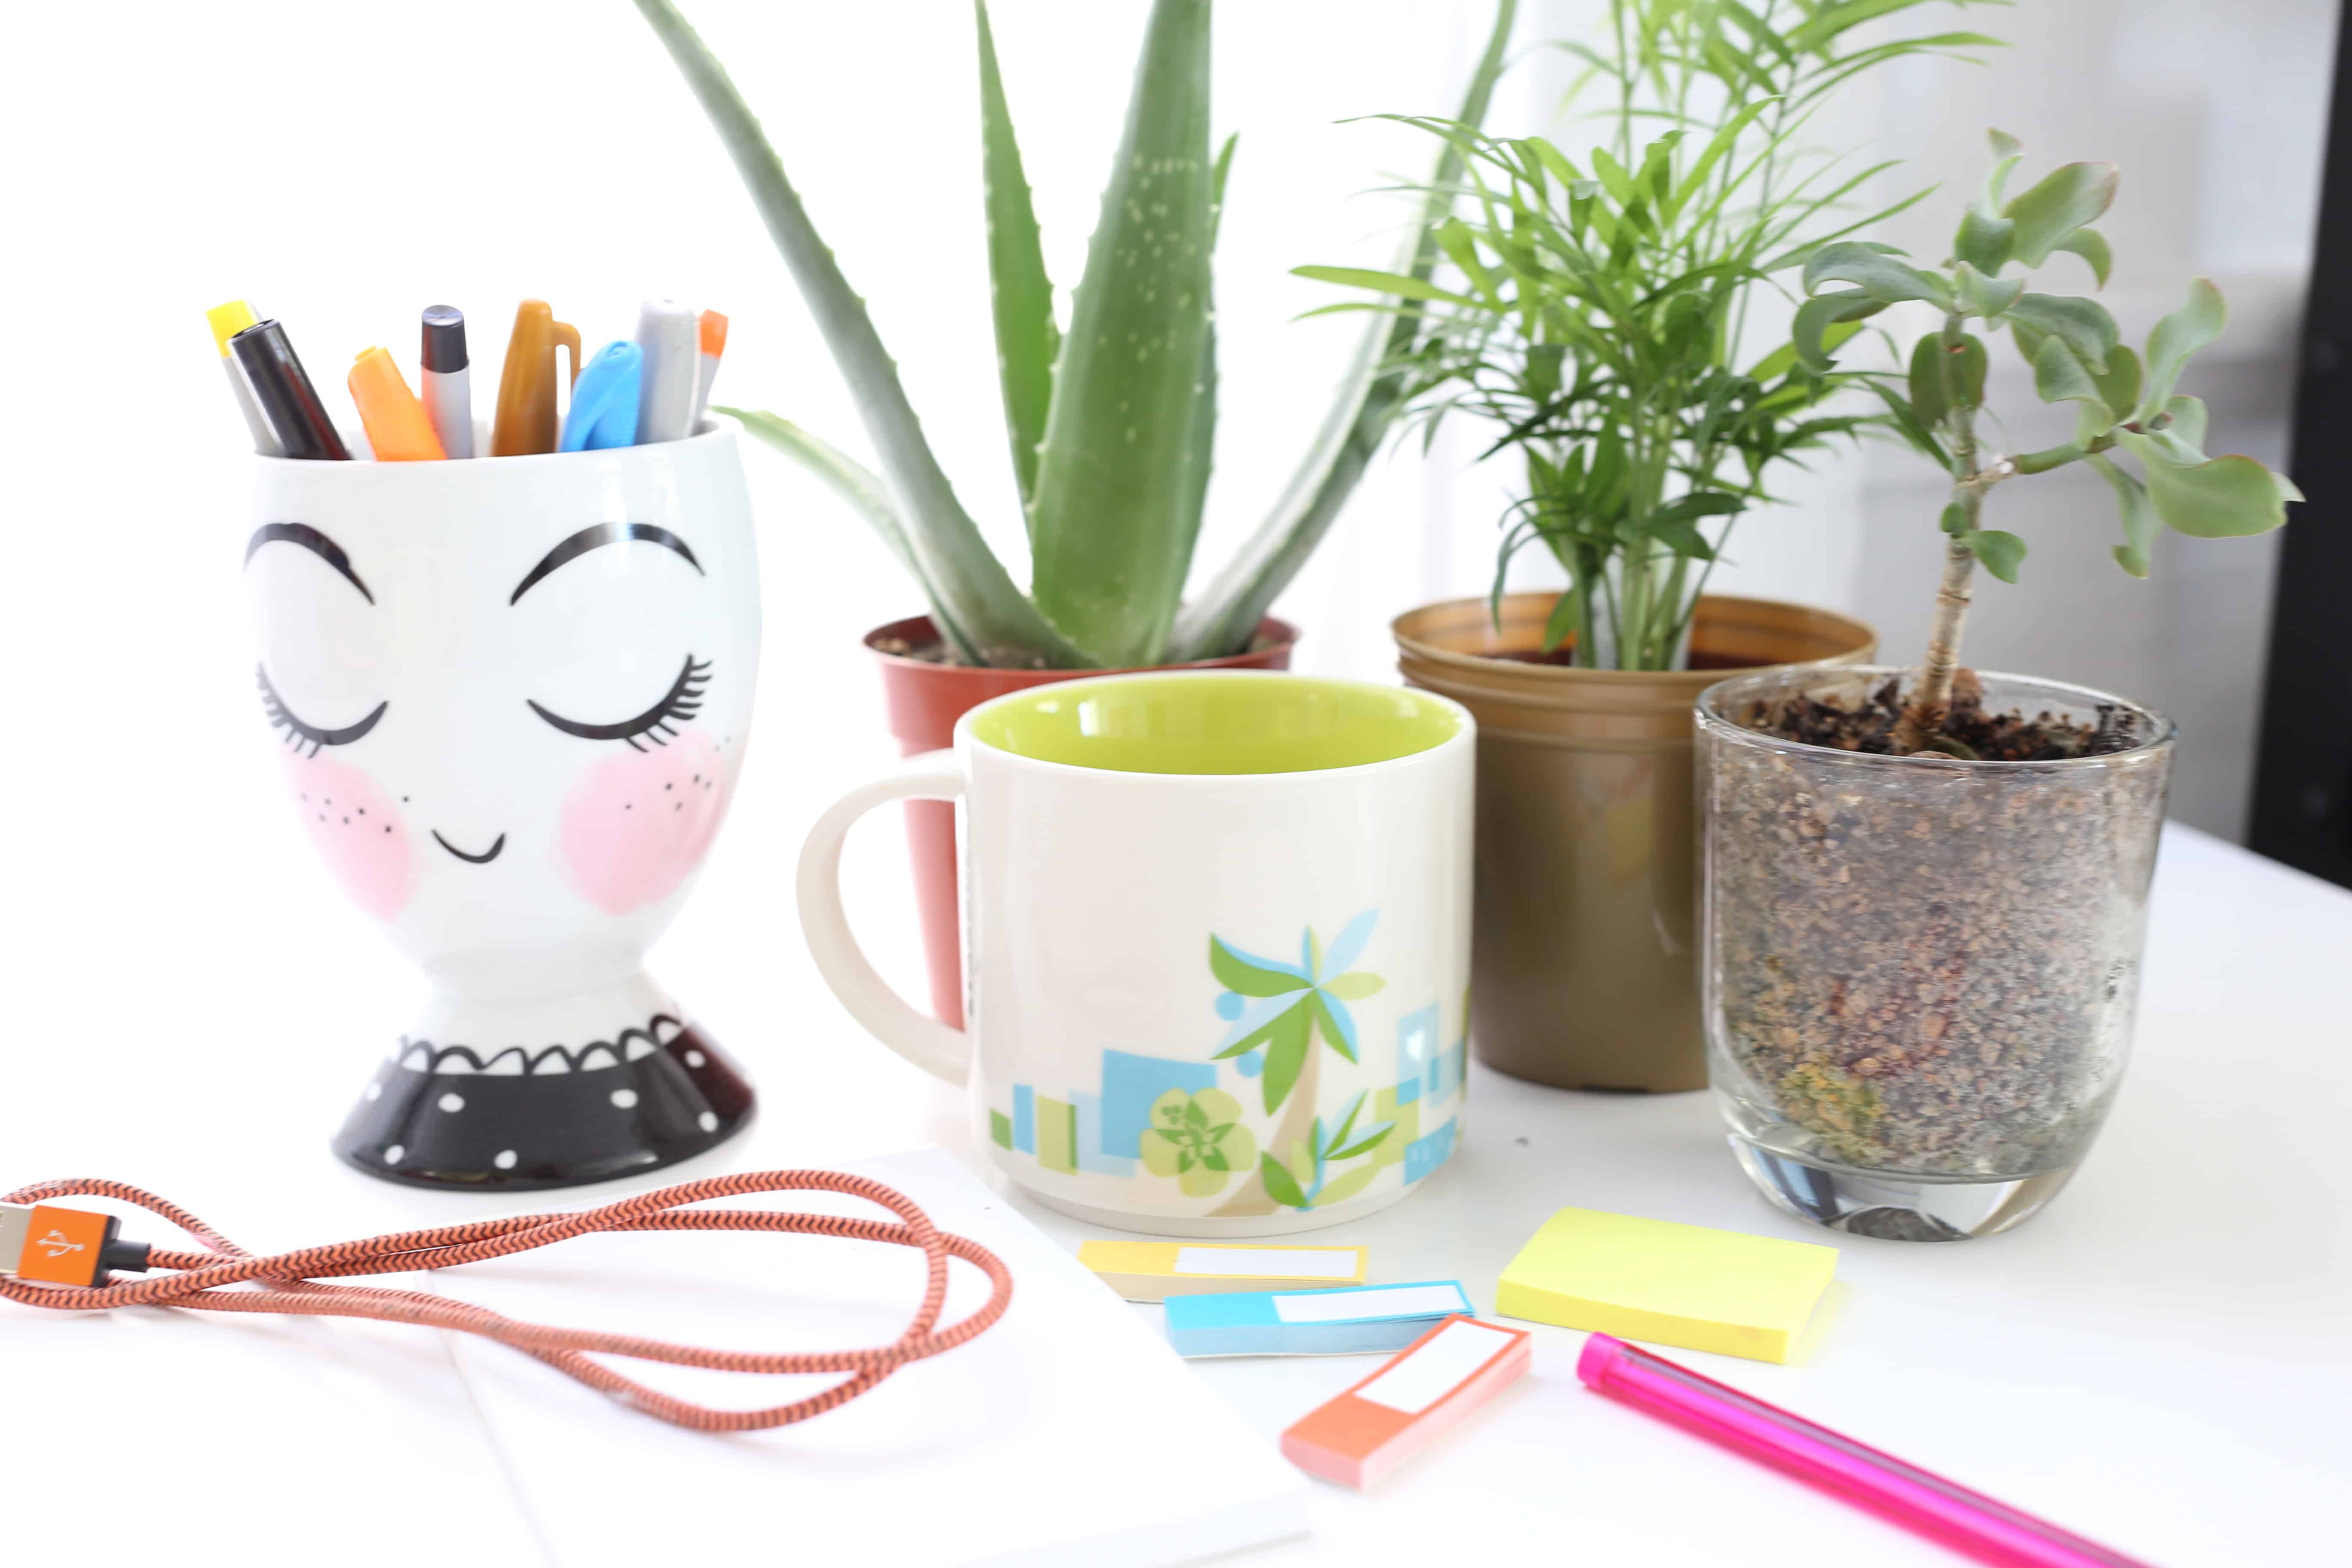
A clean and tidy study space = a happy, productive you
A vinegar mix to shine your computer screen
Computer screens, especially with the touch-screen technology we have today, get fingerprints, food splatters, and dust that we don’t notice until the light hits it just right. Most computer screens can be cleaned with simple water. If that doesn’t do the trick, add some vinegar to the mixture.
Ingredients:
¼ cup white vinegar
¼ cup distilled or boiled and thoroughly cooled water
Clean routine: It’s important to start with a computer screen that is cool, so power off and unplug your computer or laptop before cleaning. Mix the white vinegar and water together in a small bowl and, using a lightly textured cloth, clean the screen in a left-to-right, top-to-bottom motion, being sure to get the edges well. Let the screen dry completely before plugging in or turning on the computer.
A scrub to make your keyboard shine
The computer itself, including the keyboard and mouse, is likely just as dirty, if not dirtier, than your screen was, so why not clean both while you’re at it? Don’t spend money on compressed air, which also contains toxic chemicals. We’ll add a little alcohol to this mixture to really get some of the keyboard and mouse germs gone, and if there’s a texture to your computer facing, it will get into those crevices nicely, too. If you’ve already made the computer screen cleaning mixture, simply add the 2 tablespoons of rubbing alcohol and proceed to clean the rest of the computer.
Ingredients:
¼ cup vinegar
¼ cup distilled or boiled and cooled water
2 tablespoons rubbing alcohol
Clean routine: Mix well in a small bowl. Again, only clean your computer or laptop when it is cool and unplugged.
- Exterior of computer: Dip the edge of a clean rag in the mixture and clean well. If your computer surface has a grain to it, wipe with the grain.
- Keyboard: Unplug or turn off your keyboard if necessary. Let it cool completely before proceeding. A straightened-out paper clip can be inserted around the base of each letter to get any lint buildup free. Then use a cotton swab dipped in cleaning solution to get around, between, and behind each key. Clean the rest of the keyboard with a rag dipped in cleaning solution. Let dry thoroughly before using.
- Mouse: This mixture works for touchpads built into laptops and external handheld mouses. Be sure to unplug or turn off any external mouses and let them cool before cleaning. Use the paper clip and cotton swab dipped in the solution method to clean your mouse. Let dry thoroughly before using.
Control cord clutter
Cords are a breeding ground for messes, crumbs, and dirt, as well as a tripping hazard. While you’re tackling the tangle of cords, consider getting a smart power strip that doesn’t send any power to machines that are turned off. It’s a simple way to save money and energy. Untangle and UNPLUG all cords before cleaning them.
- Vacuum the area where the cords are, as they always seem to have dust bunnies, tissues, torn paper bits and dried plant leaves among them.
- Mix up a small dish of warm water with a drop of castile soap. Use a rag dipped lightly into the mixture to slide along cords. Be sure to get into the middle groove of cords. Do not clean the metal prongs with ANY water at all; only wipe with a dry cloth.
- Use recycled plastic bread ties (the flat kind that slip on) to label cords. Write in permanent marker on each tab, or use different colored ones, to know which cord at the power strip belongs to which machine on the desk.
Excerpted from: The Modern Organic Home: 100+ DIY Cleaning Products, Organization Tips, and Household Hacks
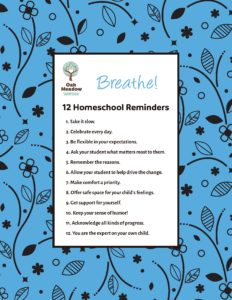
You’ve got this!
You’re more than halfway through the year! Print this flyer to hang in your study space when you need reminders to get you through your homeschooling days.